Welcome to FAQ Friday! We post a call for questions every Thursday on our Facebook wall and select the 2 most popular questions on Friday to answer for you here! Let’s get started!
Here are our top two questions this week:
“How do you package your prints/orders?? I would love to see some samples of your packaging. Thanks!!!” ~Crystal
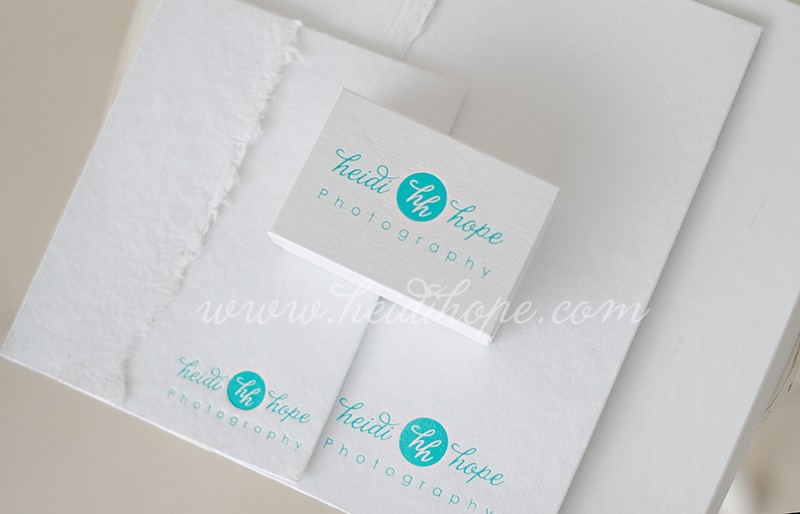
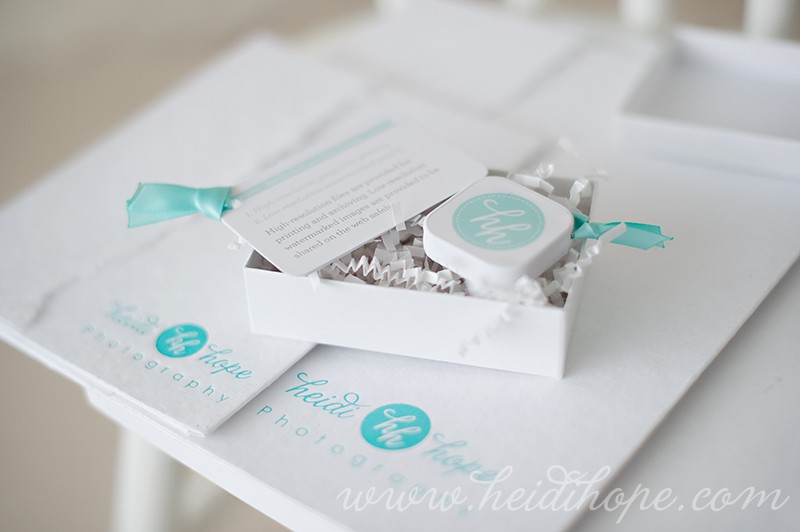
Mariah’s answer: Hey, Crystal! We try to match our packaging to our style- soft, bright, and fun! Here’s an example: the new packaging for our digital collection. We just switched over to flash drives to deliver our digital files, so we put those in a little box with crinkle-cut paper and information about the digital files on wallet-sized cards tied together with ribbon. The envelopes you see are 5×7 and 8×10 to hold smaller prints.
For clients picking up their orders, we’ll put everything in an HHP bag with tissue paper in it, and tie it with a ribbon. We have a display area at the front of the studio for larger items waiting to be picked up, like frames and canvases. ![]()


“How do you focus? Do you use the centerpoint and recompose method? Any focusing tips, please?” ~Wendy
Mariah’s answer: Hey, Wendy! If I’m shooting in the studio (where my subject is usually in the center of the frame), I’ll use the centerpoint and recompose method. But then certain situations call for different focusing strategies. For example, cake smashes are a lot easier to manually focus on when you’re switching your focus between a stationary baby and a cake. If you’re shooting a family running toward you on the beach (or a toddler that’s on the go), you’ll want your camera in continuous focusing mode. If I’m shooting a model for a comp card (requires all vertical photos), then I’ll manually change my focus point to the area that the model’s face/eyes will be in. The best tip I can give is to practice different focusing methods (in the link above!) so you’re able to switch between them at a shoot!
Check out all of our FAQ Fridays!
Want to pick our brains in person? We also do workshops now! Check them out here!
